

Updated: 7 days ago
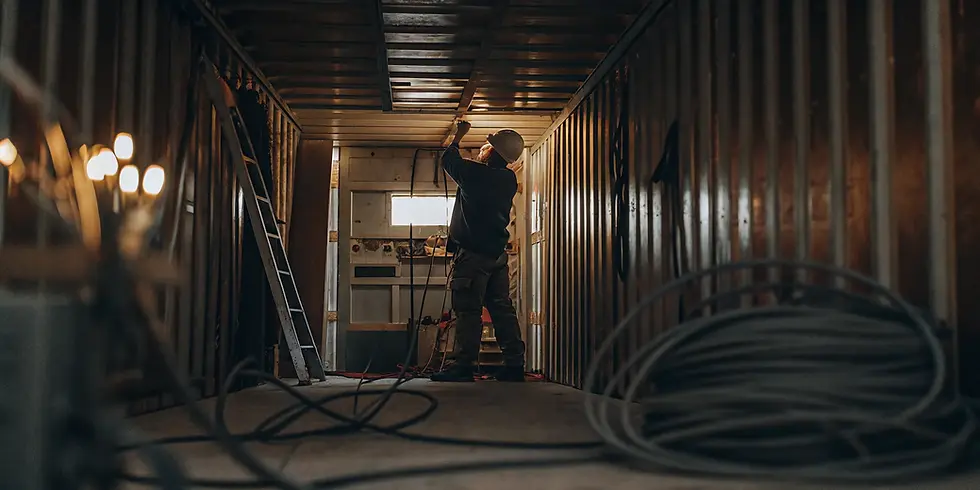
Turning a steel shipping container into a comfortable office or home takes more than adding a few outlets. The metal shell, limited wall space, long feeder runs, moisture exposure, and local inspection requirements all affect how the electrical system should be planned. A thoughtful layout helps you avoid crowded panels, damaged cable, and expensive rework later.
Shipping container electrical wiring should be designed around the expected load, protected in conduit or approved cable, bonded to the metal shell, and finished with required GFCI protection. In Pennsylvania, local code considerations may also affect permits, inspections, burial depth, and the final connection, so a licensed electrician should handle the main panel and hookup.
Once you know what the finished space will power, the first decision is how electricity will travel from the property service to the container. That feeder route sets the groundwork for panel sizing, voltage-drop planning, and safe interior wiring.
How to Run Power to a Shipping Container
For most container offices, workshops, and living spaces, power starts at the property's main panel and travels underground to a smaller sub-panel inside the container. A common approach uses 10/3 plus ground UF direct-burial cable, protected by a double-pole breaker in the main panel. The feeder then supplies individual branch circuits from the container's sub-panel. Because you're working with a metal structure and a service connection, have a licensed electrician handle the main-panel work, connections, and final inspection.
Plan the feeder route before trenching
Map the route from the main panel to the container before any digging begins. Keep the run as direct as practical, account for future access, and identify utility locations first. The container foundation and site preparation matter here, too. A stable, level base helps keep the building in its planned position, while a well-planned entry point prevents the feeder, conduit, or fittings from being damaged during placement.
For an underground run, local code often requires direct-burial cable to be installed at a specific depth. Treat NEC 300.5 minimum-cover rules as an important code consideration, not a universal depth promise. Required cover can vary with the installation, the location, and the protection method. Your electrician or local building department can confirm whether the project may require a permit and what inspection requirements apply.
Measure the feeder distance and calculate the expected load for the sub-panel.
Dig the trench at the depth the local building department specifies for the wiring method.
Lay the feeder cable, then protect the section that rises out of the ground with conduit.
Install the sub-panel in the container and leave the terminations for the electrician's final hookup.
Protect the cable where it rises
UF cable is intended for direct burial, but the sections that emerge from the ground need physical protection. Use plastic conduit where the cable surfaces near the main panel and where it enters the container. Seal and support the entry carefully, and use rated boxes or fittings for each connection. Avoid leaving cable exposed where equipment, lawn work, snow removal, or foot traffic could damage it.
Account for distance and future loads
Voltage drop becomes a planning question on longer feeder runs. A roughly 75-foot run using 10-gauge cable has been reported to have modest voltage drop, with 10-gauge copper measuring about 1 ohm per 1,000 feet. Actual performance depends on conductor material, load, temperature, and installation details. So an electrician should verify the feeder size against the expected demand rather than relying on distance alone.
Think beyond today's outlets when routing power. If the container will need heating, cooling, tools, or other high-demand equipment, coordinate the feeder and panel plan early. Review HVAC and electrical planning together so the service, trench, and interior layout support the finished use.
Sizing the Electrical Panel for Your Container Build
Panel sizing starts with how the container will actually be used, not simply the square footage. An office with lights, receptacles, and a few computers has a different demand from a habitable conversion with heating, cooling, cooking, and water-heating equipment. A careful load plan helps prevent nuisance trips, undersized feeders, and expensive changes after the walls are finished. For a broader look at planning an office conversion, see our guide to proper electrical wiring setup.
Load calculation basics for shipping container electrical wiring
A 100-amp service panel is typically sufficient for many container office and living applications. Habitable conversions with several higher-demand systems may call for service up to 200 amps. But the right size depends on the calculated load and the capacity available at the property. More capacity is not automatically better if the building's existing service, utility connection, or feeder cannot support it.
Start by listing every planned load and its rated wattage or amperage. Include lighting, receptacles, HVAC, water heating, cooking appliances, pumps, tools, and any equipment that may run at the same time. Convert the expected demand into amps at the system voltage, then account for continuous loads and the operating requirements of larger equipment. When sizing breakers, allow roughly a 20% buffer above the calculated demand. This gives the system practical breathing room without treating unused panel space as available power.
Major appliances should have dedicated circuits sized for their individual requirements. A mini-split, electric range, water heater, or shop tool should not share a general receptacle circuit simply because the panel has an open breaker position. Dedicated circuits also make troubleshooting and future modifications more manageable.
Finally, compare the planned load with the available service capacity before ordering equipment or running cable. A licensed electrician can complete the load calculation, confirm feeder and disconnect requirements, select the panel and breakers, and handle the main-panel connection and final hookup. Mann's Cans can help plan the container-side layout, but electrical service decisions should be reviewed by the qualified professional responsible for the installation.
Do You Need to Ground a Shipping Container? Yes, and Here's Why
Yes. A shipping container's steel shell is a large conductive surface, so it needs to be bonded into the electrical grounding system rather than left electrically isolated. Grounding and bonding give fault current a safer path away from people and equipment. If a damaged conductor contacts the shell, proper grounding helps divert that fault toward earth instead of allowing the container walls, doors, or framing to remain energized.
Bonding vs grounding: what is the difference?
Grounding connects the electrical system to earth. Bonding connects normally non-current-carrying metal parts, including the container structure, so they remain at the same electrical potential. You need both concepts addressed in the design. A ground rod by itself does not replace bonding the steel shell, and bonding the shell does not replace a correctly installed grounding electrode system.
For a detached container workshop or office, a common installation approach is to install an 8-foot ground rod at the sub-panel and bond the metal container to that rod. The grounding electrode conductor and the connection point should be selected and installed by the electrician handling the service. The exact arrangement can depend on the feeder, panel configuration, site conditions, and applicable local code considerations. See the technical grounding example documented by Electrical Engineering Stack Exchange, then have a licensed electrician confirm the design for your project.
Verification matters as much as installation. Ask the electrician to test the ground rod and confirm resistance is below 25 ohms, the benchmark cited for effective lightning protection of the electrical system. Keep the test result with the project records, along with the panel schedule and any inspection documentation.
Finally, do not let wiring rub directly against the steel. Route conductors through suitable conduit or use properly insulated cable, and protect every entry point from sharp edges. Metal contact can damage insulation and create a short. Connections should be enclosed in appropriately rated junction boxes, with the shell bond made at an accessible, durable point rather than hidden behind finish materials. This is one reason grounding should be planned before insulation, wall finishes, or interior equipment are installed.
A licensed electrician should verify the grounding, bonding, feeder termination, and final energization. The container may look simple from the outside, but its metal construction makes small wiring mistakes more consequential.
Where Do GFCI Outlets Go in a Metal Shipping Container?
Electrical receptacles in a container need to account for both moisture and the surrounding steel shell. A GFCI device helps reduce shock risk by interrupting power when it detects an imbalance. So it belongs on circuits serving locations where water or damp conditions are likely. Plan the receptacle layout before insulation, wall finishes, cabinets, or built-in equipment make access difficult.
Where GFCI protection matters most
GFCI protection is especially important for outlets in kitchens, bathrooms, outdoor areas, and other damp or exterior locations. That includes receptacles near a sink, an exterior door, or a service area where rain and wet equipment could be present. Local code considerations may determine the exact devices and circuit arrangement for your project, so have the final plan reviewed by a licensed electrician.
Choose weather-resistant and appropriately rated outlets and switches where the installation is exposed to moisture. The device rating should match its location and intended use, rather than relying on a standard indoor receptacle everywhere. In a workshop or storage container, think through where tools, extension cords, wash-down water, and condensation may affect the electrical system. A practical layout keeps receptacles accessible without placing them directly in splash zones or where stored materials can damage them.
Every splice and connection should be enclosed in a rated junction box with a suitable cover. Do not leave wire connections loose behind wall panels or insulation. Boxes also make future troubleshooting safer and help keep conductors separated from the container's metal surfaces. As part of your broader shipping container electrical wiring plan, map box locations, circuit routes, and access points before closing the walls.
Adding a receptacle may require cutting through the steel wall. Use a metal-cutting blade suited to the container wall, and protect every exposed cut edge with rust-inhibitive paint. This simple finishing step helps prevent corrosion around the opening. Use an approved box and fittings that secure the device without leaving sharp metal edges or unsupported wiring.
GFCI protection does not replace proper grounding, bonding, overcurrent protection, or professional inspection. A metal container has more conductive surfaces than a typical framed room, which makes careful separation and termination important. A modification specialist can help prepare the layout, while a licensed electrician should verify the circuits and final hookup before the container is placed into service.
Shipping Container Electrical Wiring Methods That Protect the Steel Shell
Inside a steel container, wiring needs deliberate separation from the metal shell. The two practical approaches are EMT metal conduit and surface-mounted raceway. Both can keep conductors protected and accessible, but the right choice depends on the finish, how often the space may change, and how much protection the wiring needs. Plan every run before cutting or fastening anything, and keep structural considerations in mind when making alterations to the container.
Option | Appearance | Protection | Best use | DIY difficulty |
Conduit (EMT) | Visible, clean industrial lines. | Strong protection from impact and the steel shell. | Workshops, utility spaces, and exposed wiring runs. | Moderate to high. |
Surface-mounted raceway | Low-profile, often easier to blend with finishes. | Protects and contains cable when properly closed and secured. | Finished interiors, retrofit circuits, and future changes. | Moderate. |
No protection | Unfinished and exposed. | Not acceptable against corrugated steel or physical damage. | None. | Not allowed. |
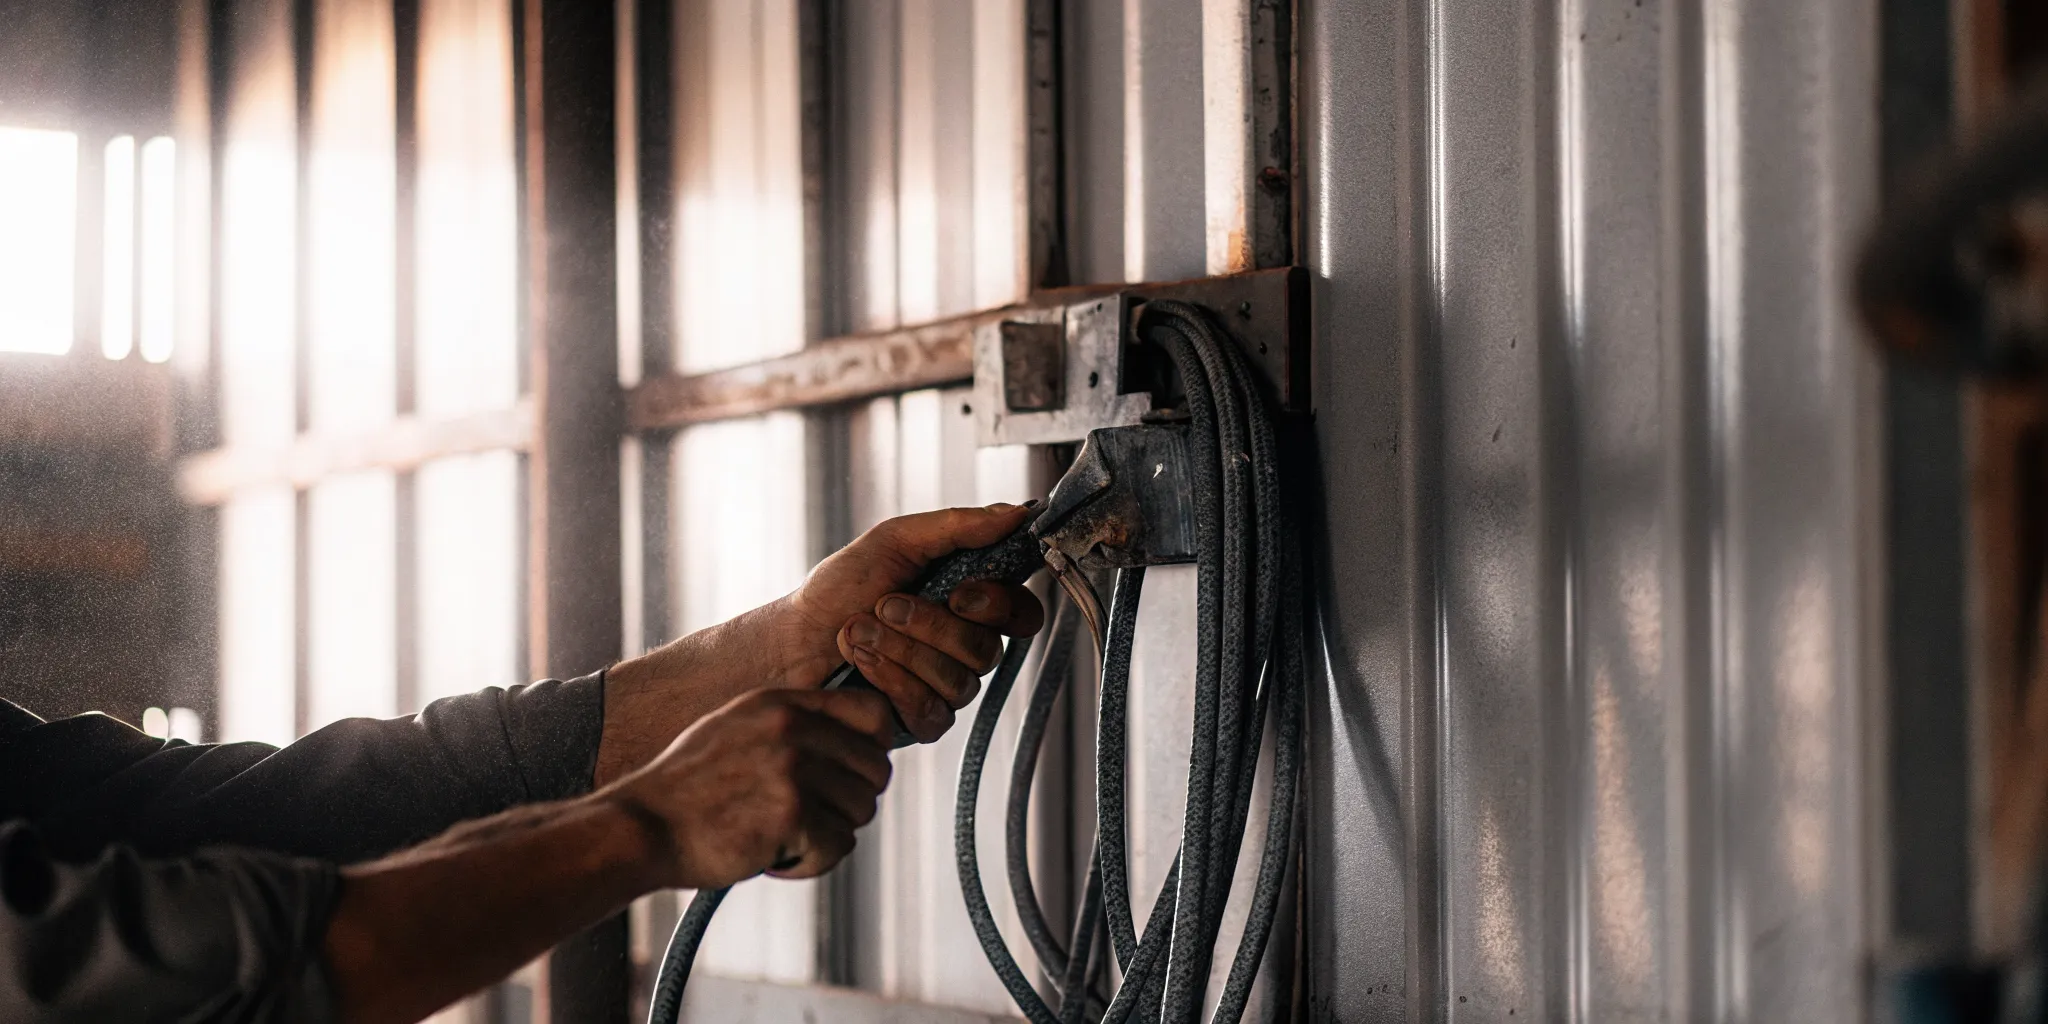
Routing conduit around the corrugated shell
EMT should be mounted securely with appropriate fittings and supports rather than left to rest against the container wall. The corrugated structure can help guide a practical route, allowing runs to follow the wall profile while reducing unnecessary penetrations. Use rated junction boxes wherever connections are made, and keep conductors separated from sharp edges and bare metal. If a hole is necessary, protect the cable at the penetration and consider rust-inhibitive paint on freshly cut edges.
Insulated cable can be suitable in some locations, but it still must not rub directly against the steel shell. Conduit or an approved insulated wiring method creates the separation needed to reduce short-circuit and abrasion risks. Check the cable marking and temperature rating for the installation. A cable marked with "B" indicates a 90C rating, but the complete wiring method and connected equipment still need to be selected appropriately.
Lighting and low ceilings
Insulation and interior finishes reduce the usable ceiling height, so map lighting locations before installing boxes, conduit, or raceway. Low-profile fixtures may preserve headroom and keep the layout comfortable. For a deeper look at planning circuits and fixtures after insulation, see this insulated container electrical layout guide. A licensed electrician should review the main panel connections and final hookup, even when the interior routing is straightforward.
What Should You Know About Permits and Code Considerations in PA?
Planning electrical code considerations early can prevent a wiring plan from being delayed after the container is delivered. In Pennsylvania, electrical installations are generally governed through the state's Uniform Construction Code, or UCC. That framework sets the baseline for construction and electrical safety, while the local process determines how your project is reviewed.
Which electrical standard applies?
For the electrical portion of a container conversion, NFPA 70, commonly called the National Electrical Code, is the primary technical standard referenced by the UCC. It addresses the design and installation of conductors, panels, grounding, receptacles, and other parts of the system. You can review the standard through the NFPA 70 reference page, but a code book alone cannot tell you exactly how your municipality will handle your project.
Why does the municipality matter?
Pennsylvania's process is local in practice. More than 90% of the state's 2,562 municipalities enforce the UCC through their own employees or certified third-party agencies, according to the Pennsylvania Department of Labor and Industry. That means the municipality where the container will sit may determine which applications, drawings, inspections, and trade permits are relevant.
A municipality that has opted out of local UCC enforcement is handled differently. For commercial work in those locations, the Department of Labor and Industry is responsible for enforcement. This distinction is one reason a conversation with the local planning or code office should happen before materials are ordered or the container is modified.
When should you ask about permits?
Contact the local planning department early and describe the complete project, including the container's use, its foundation, the electrical service, the feeder route, the main or sub-panel, and any plumbing or HVAC work. Ask whether the electrical work may require a permit, what plans are expected, and which inspections occur before walls or insulation conceal the wiring. Requirements can vary by location and by whether the space is storage, an office, a workshop, or a habitable conversion. Our container home zoning guide covers related placement rules in Pennsylvania.
For the main panel, service connection, grounding, and final hookup, use a licensed electrician. A Mann's Cans modification specialist can help plan the container's layout and coordinate practical installation details. But the electrician should evaluate the electrical design and local inspection requirements before energizing the system.
Frequently Asked Questions
How do you run electrical wiring to a shipping container?
Run a properly sized feeder from the main service panel to a sub-panel inside the container. Direct-burial UF cable may be used where permitted, with conduit protecting the cable where it rises from the ground or enters the container. The feeder should be protected by the correctly sized double-pole breaker, and the run should be checked for voltage drop. A licensed electrician should verify the feeder, terminations, and final connection.
Does a shipping container require special electrical grounding?
Yes. Because the shell is metal, the container structure should be bonded to the grounding system so a fault can be diverted safely. The research guidance calls for an 8-foot ground rod at the sub-panel and electrician verification that ground rod resistance is under 25 ohms. Grounding and bonding details should be reviewed for the specific site and local code considerations.
Can I install an electrical panel in a shipping container?
Yes, a container can have a sub-panel supplied from the main panel. Size it from a load calculation, including major appliances, HVAC, receptacles, and lighting, then leave capacity for planned additions. One planning guideline is to include a 20% load buffer, but the available service capacity and local requirements still need to be verified. Have a licensed electrician handle the main panel and final hookup.
Where is GFCI protection needed in a container office or home?
GFCI protection is generally needed for receptacles in damp or exterior locations, including kitchens, bathrooms, and outdoor areas. Use weather-resistant devices where exposure calls for them, and place all wire connections inside appropriately rated junction boxes. The exact requirements depend on the room, receptacle location, and applicable edition of the electrical code.
How do I attach conduit to a shipping container?
Plan the route around the container's corrugations, keep wiring separated from the metal shell, and mount conduit securely with fittings rated for the installation. Protect any wall penetrations and treat cut metal edges with rust-inhibitive paint. Before drilling or cutting, confirm that the route will not interfere with planned insulation, structural components, doors, or windows.
Ready to Plan Your Container's Electrical Setup?
A clear electrical plan can help you coordinate panel capacity, conduit routing, and the final hookup before modification work begins. For guidance on your project, call Mann's Cans for a quote on container modifications and electrical prep. Our modification specialists can help you identify the next practical step and coordinate the work with a qualified electrician where required.



Comments